Old Wood
- By cort@antelopemarketing.com
- •
- 20 Mar, 2019
- •

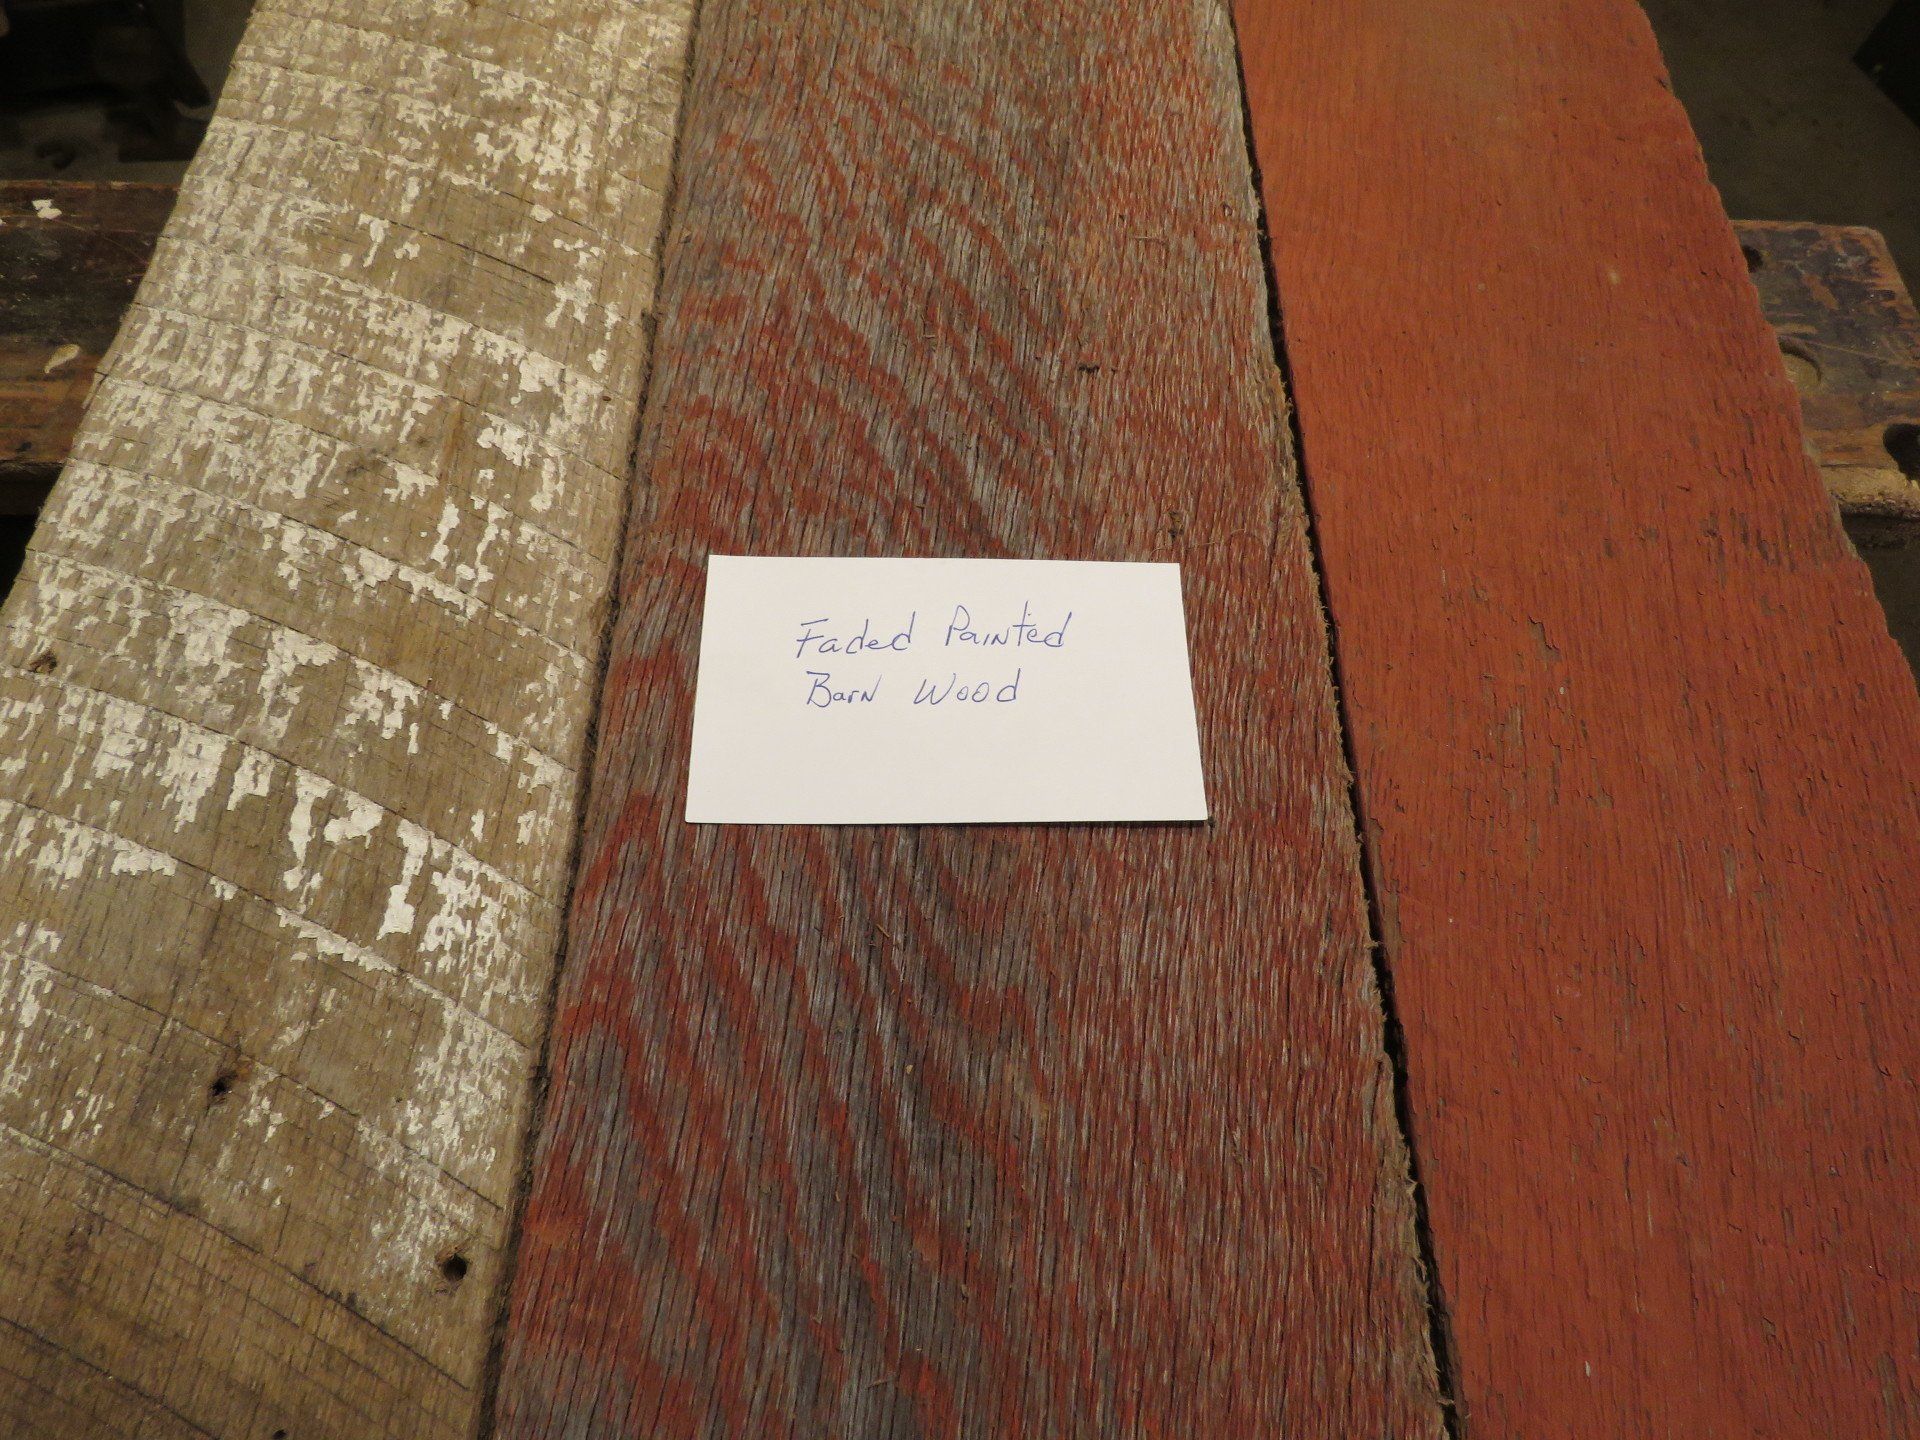
Nothing can duplicate the look of old wood. I predominantly use oak that is rough cut, air dried and still has the old time circular saw marks on the surface. It comes in a variety of colors from dark brown, brown, gray and tan, depending on the environment it has been stored. I also use old painted barn wood that I find from time to time, mostly in white or red. I look for barn wood where the paint is faded but not chipping off. I travel to western Maryland often in my quests. Sometimes I am meet with success but more often it is bust.
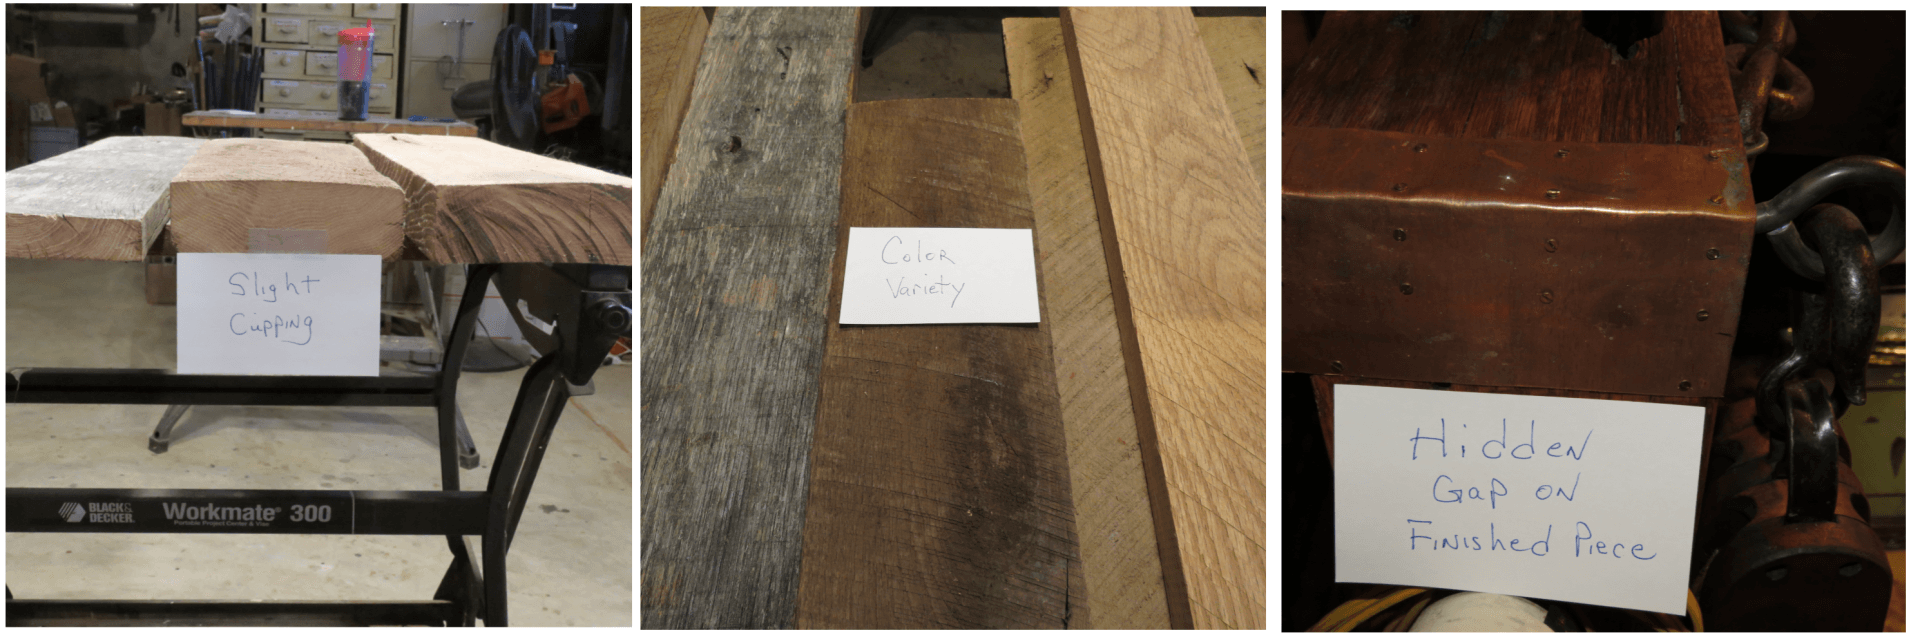
The century old wood changes over time. Piles that have been insect ravaged or warped, cupped and bent are of little use to me so I pass. Now the wood I do buy is solid but as I said rough cut so handling it with gloves is a must unless you want a fist full of splinters. When I do find a truck load it is carried to my basement where I have a dehumidifier running 24/7 for further drying for about six months before I use it. As the moisture is pulled from the wood it will continue to shrink. Failure to get the moisture content down to 3% or lower can result in gaps in the joints especially when gluing up table tops or edge gluing planks together on a finished item.
Working with this old stuff presents its own challenges. While it was dimensional when it was cut, it is often not so much now. A 2” x 6” can be off as much as a 1/2”. Of course a joiner or planer can remedy this in short order but then the patina of the old wood and circular saw marks are lost. So when it is time to start a design I select the wood that is close to the same dimensions and if it absolutely necessary to use a joiner I make certain those edges will never be seen. For instance, when gluing up boards for a table top I run the edges of the boards thru the joiner to obtain a true edge on the boards. The middle boards get joined on both edges with the outer boards just one edge so the patina on the outer edges remain in tact. If there is some cupping I run the bottoms of the board through to get a flat surface on the bottom and it will not be seen.
I the construction of a case for a piece I am putting together the boards are not perfect in that they may have a slight cup. While this is not noticeable on the surface, at the connection of another board a slight gap will be present. Any gaps that catch my eye are covered with weathered copper or another piece of wood.
Once I have selected all the wood I will be using for a project gets a light sanding to brighten up the wood and smooth it enough so remove the threat of splinters on the finished piece.
Matching up the colors on a piece is another challenge. Even with all the lumber I have it takes some time to find all the material I need with similar color. This issue can at times be remedied by sanding darker boards to match lighter colored boards and the finish that will be used.
I always test the finish for color changes in the wood when it is applied. Some boards are more porous than others which means they will absorb more of the finish that can change the color and it can also result in some boards having a higher sheen to them. So I play and test until I get a finished piece that is pretty much the same color with the same level of sheen whether it be flat, satin, semi-gloss or gloss.

